What is Clipping Mask in Photoshop? Complete Guide for Designers & Photo Editors

Introduction
Adobe Photoshop offers a wide range of powerful tools for image editing, digital design, and creative workflows. Among these tools, the Clipping Mask stands out as a simple yet extremely versatile feature that allows designers to control visibility, apply effects precisely, and create professional compositions without destructive editing.
Whether you are a graphic designer, photographer, eCommerce product editor, or digital marketer, understanding how clipping masks work can significantly improve both your efficiency and output quality. In this article, you will learn what a clipping mask is, how it works, common use cases, and why mastering it is essential for professional Photoshop workflows.
What is a Clipping Mask in Photoshop?
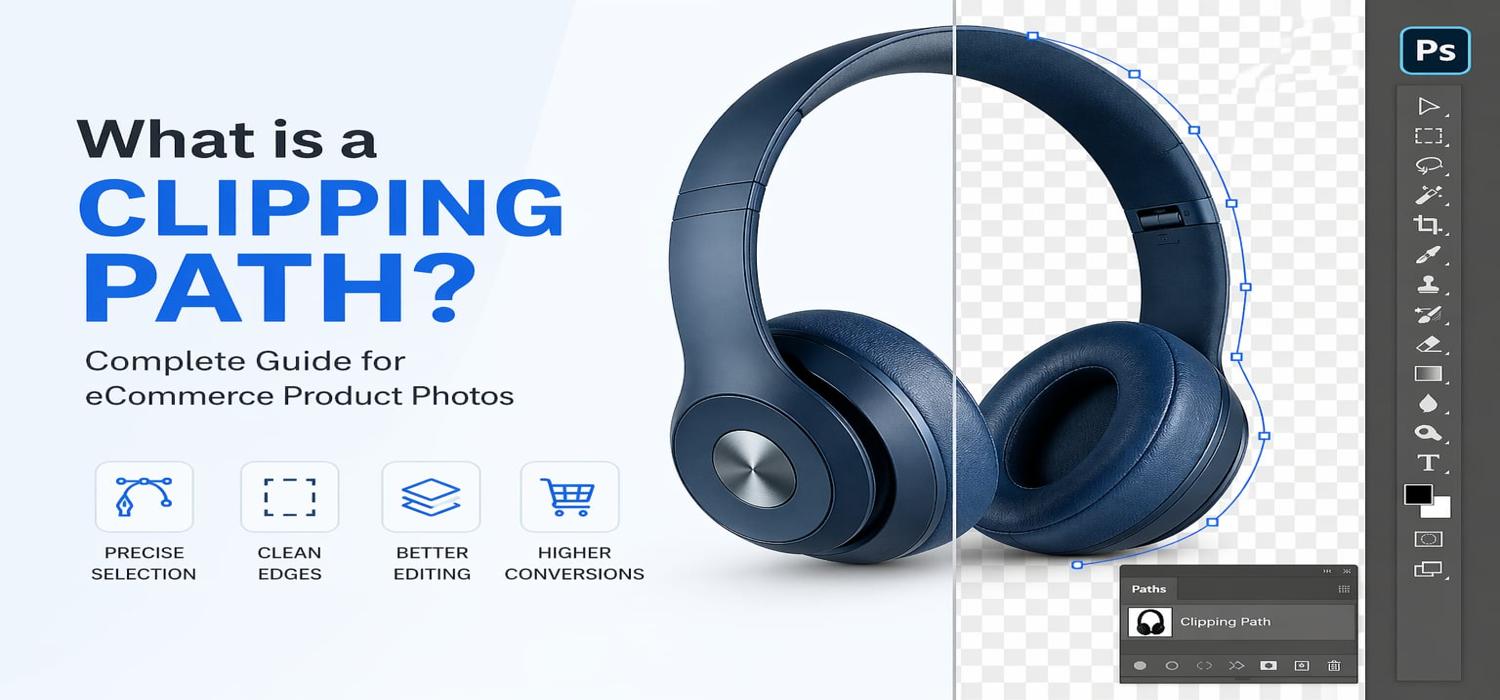
A Clipping Mask is a Photoshop feature that uses the content of one layer (called the base layer) to control the visibility of the layers placed above it. The upper layers become visible only within the opaque areas of the base layer.
In simple terms:
•The bottom layer acts as a shape or boundary
•The top layer’s content is clipped inside that shape
•Any pixels outside the base layer remain hidden
Unlike deleting or erasing parts of an image, clipping masks are non-destructive, meaning you can easily modify or remove them without losing original data.
How Does a Clipping Mask Work?
Clipping masks rely on layer hierarchy inside the Photoshop Layers Panel.
Basic Workflow:
- Create or select two layers:
- A base shape layer
- A layer you want to clip
- Place the layer to be clipped above the base layer.
- Apply a clipping mask.
After applying the mask:
•The top layer becomes constrained to the visible pixels of the bottom layer.
•You can still move, resize, or edit both layers independently.
This flexibility makes clipping masks ideal for dynamic design processes.
Key Features of Clipping Masks
Non-Destructive Editing
Clipping masks do not permanently alter images. You can adjust, reposition, or remove masks at any time.
Precise Control
They allow designers to apply textures, colors, adjustments, and images only where needed.
Layer Flexibility
Multiple layers can be clipped to a single base layer, making complex compositions manageable.
Clean Workflow
Instead of using multiple selections or erasing pixels, clipping masks keep projects organized and editable.
Common Uses of Clipping Masks in Photoshop
1. Text Effects and Typography Design
Designers frequently use clipping masks to insert images or textures inside text. This technique is popular for branding, posters, and social media graphics.
2. Image Retouching and Color Grading
Adjustment layers such as:
- Brightness/Contrast
- Curves
- Color Balance
can be clipped to specific objects to avoid affecting the entire image.
3. Product Photo Editing
In eCommerce image editing, clipping masks help:
- Apply shadows to specific products
- Add textures to apparel
- Control reflections or highlights
4. Creative Compositing
When combining multiple images, clipping masks allow seamless integration without destructive cropping.
5. Mockups and Branding Design
Logos, patterns, or artworks can be easily placed within templates such as:
- T-shirts
- Packaging
- Billboards
- Business cards
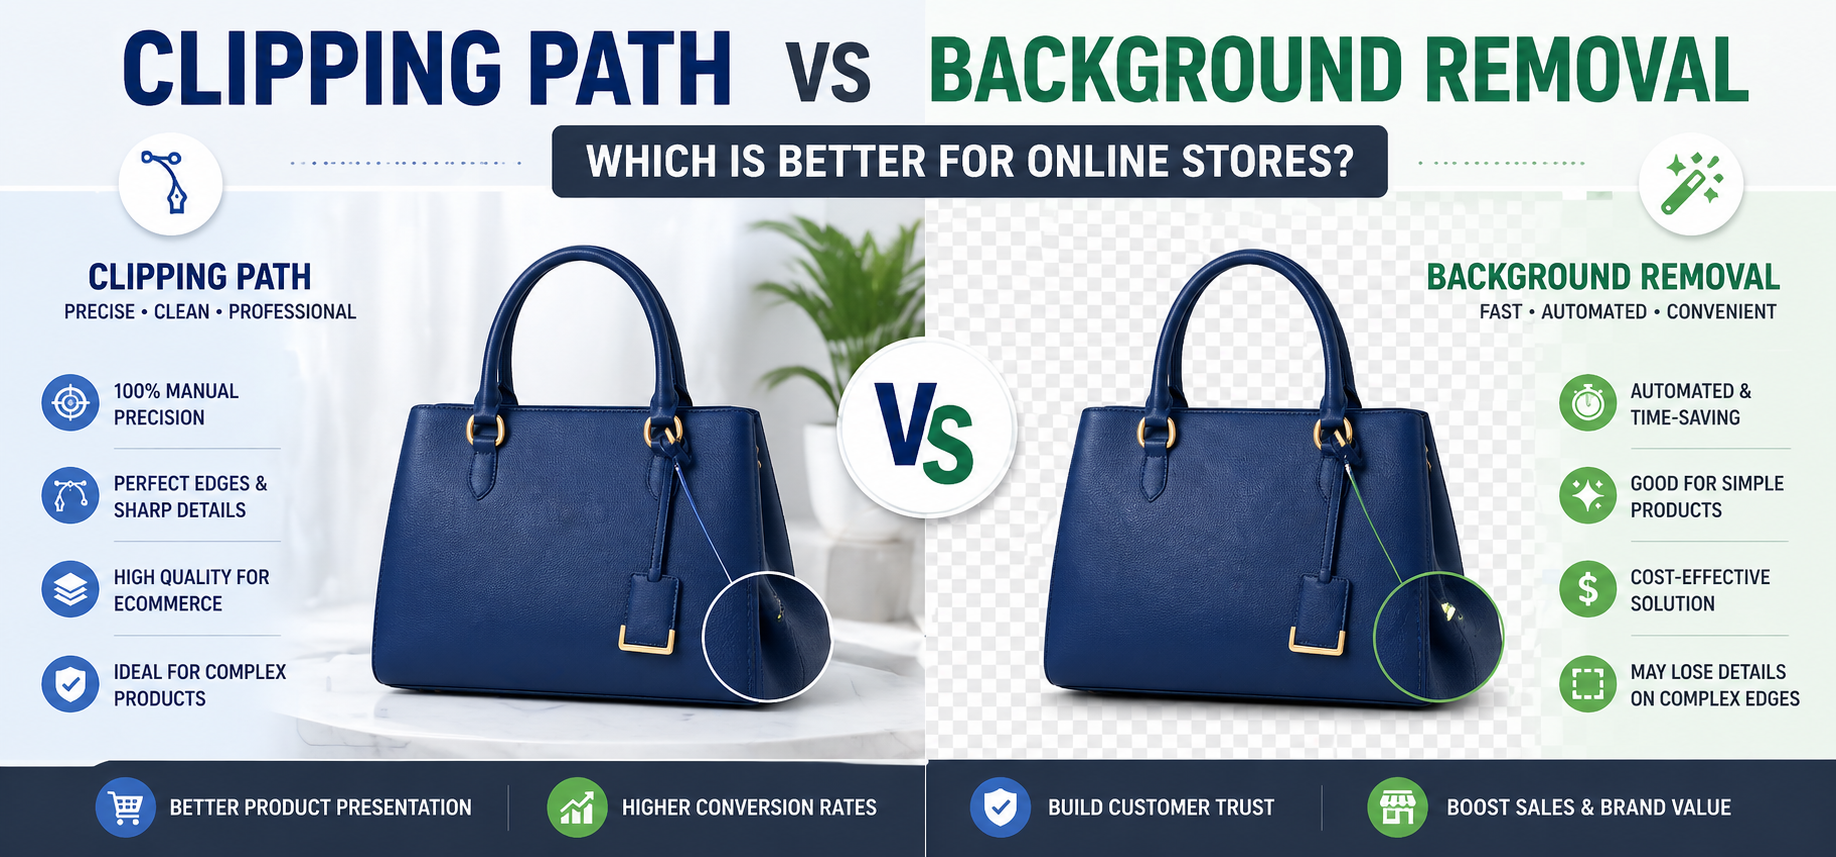
Clipping Mask vs Layer Mask: What’s the Difference?
Many beginners confuse clipping masks with layer masks, but they serve different purposes.
|
Feature |
Clipping Mask |
Layer Mask |
|
Function |
Uses one layer’s shape to define visibility |
Uses grayscale to hide/reveal pixels |
|
Editing Style |
Layer-based |
Pixel-based |
|
Ideal For |
Design layouts, typography, adjustments |
Detailed photo editing |
|
Flexibility |
Fast and structural |
Highly precise control |
Both are powerful tools, but clipping masks are often faster for structured design workflows.
Why Should You Care About Clipping Masks?
Faster Editing Workflow
Clipping masks eliminate repetitive selections and destructive edits, significantly speeding up production.
Professional-Level Results
They allow precise adjustments that maintain visual consistency and realism.
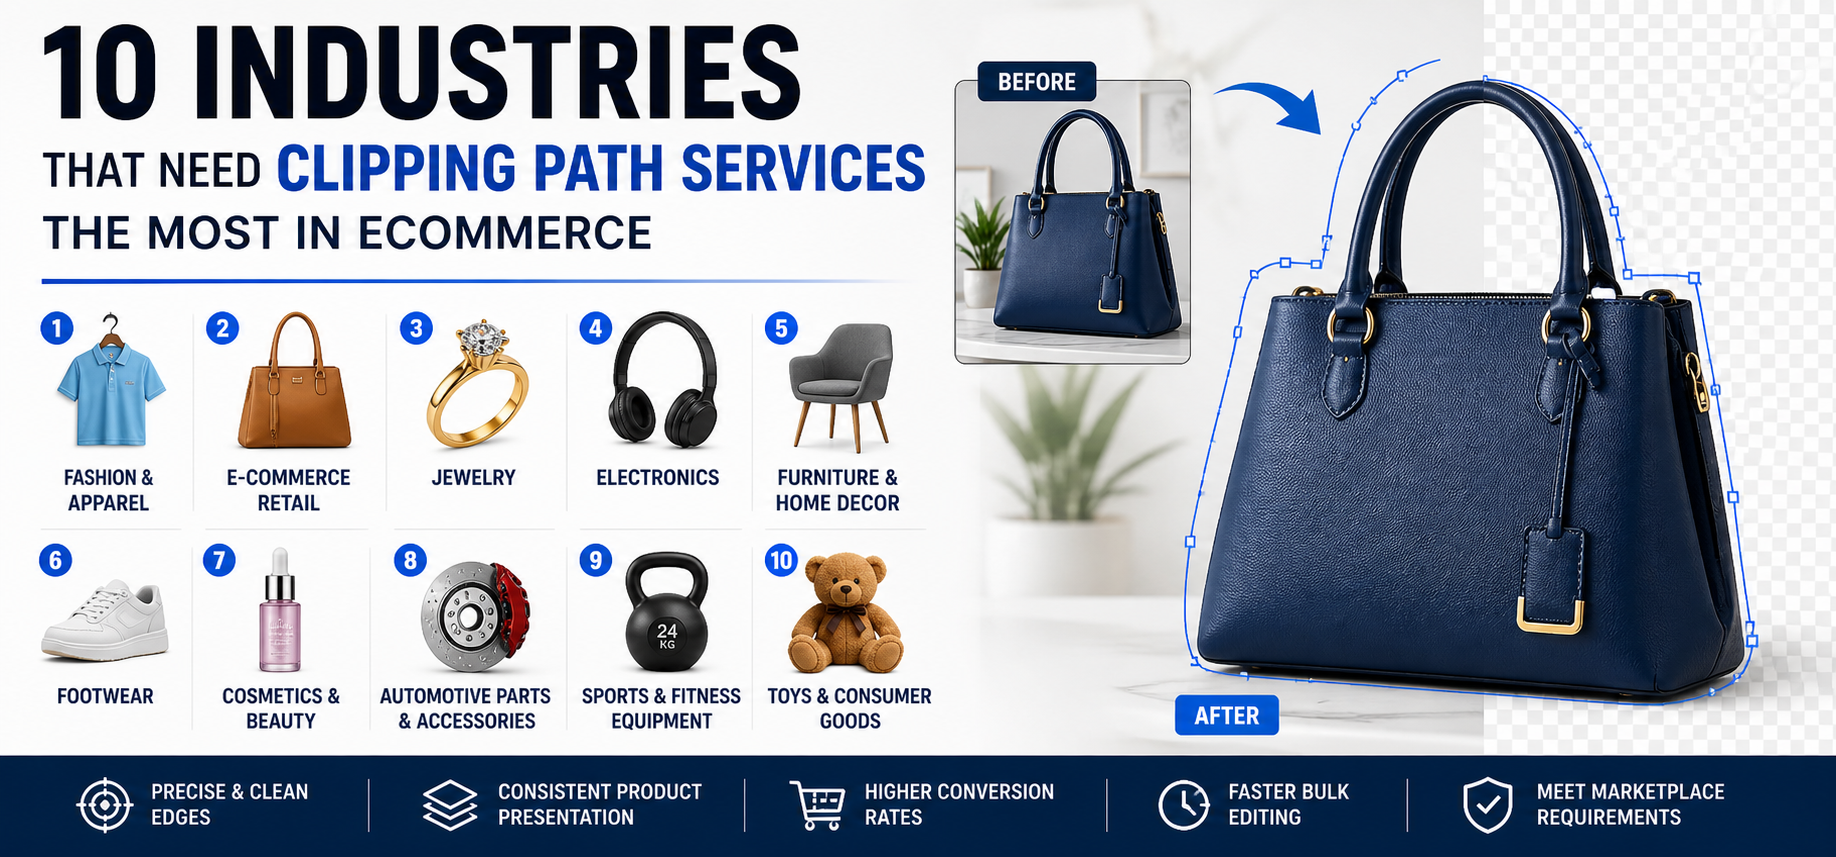
Essential for eCommerce Editing
Product retouching, apparel editing, ghost mannequin workflows, and color adjustments frequently rely on clipping masks.
Improved Collaboration
Non-destructive editing ensures other designers or clients can revise files without starting from scratch.
Enhanced Creativity
Designers can experiment with textures, gradients, and visual effects freely without damaging original layers.
Practical Examples in Real-World Workflows
- Applying fabric textures to apparel mockups
- Adding color grading to specific objects in marketing visuals
- Creating advanced typography effects for branding
- Editing product photos with selective shadows and highlights
- Building layered compositions for advertising creatives
Tips for Using Clipping Masks Efficiently
- Keep layers well organized and named
- Use Smart Objects for scalable designs
- Combine clipping masks with adjustment layers for better control
- Stack multiple clipped layers for complex visual effects
- Use vector shapes as base layers for clean edges
Conclusion
Clipping masks are one of Photoshop’s most efficient and powerful features for controlled editing and creative design. By allowing one layer to define the visibility of another, they enable non-destructive workflows, precise adjustments, and professional-grade compositions.
Whether you are working on product photo editing, graphic design, branding, or digital marketing visuals, mastering clipping masks can greatly improve both productivity and visual quality. If you want faster workflows, cleaner designs, and flexible editing capabilities, clipping masks are a skill you should absolutely learn and use regularly.